Showing posts with label Make it Cheaper Yourself. Show all posts

Wednesday, December 4, 2013

I is for Itty Bitty Doll Sized Tote Bag Tutorial

Blogging Through the Alphabet

I is for Itty Bitty Doll Sized Tote Bag Tutorial

 photo 3263fe80-abbf-447f-ae8d-13cb1bc94490.jpg

I am still sewing away making doll clothes and accessories for my girls and their dolls for Christmas. I am so thankful to Rosie's Doll Clothes Patterns for reviving the sewing joy I used to have. I am truly enjoying sewing again, and I just know my girls are going to be thrilled on Christmas morning!

I always have these small scraps of fabric left over when sewing, too small to do much with yet too big to just throw away. (One of these days I will have to start quilting!) I had a eureka moment this evening when one of my daughters mentioned going to the library. My girls love their special library bags, I bet the dolls would love one too!

~~~~~~~~~~~~~~~~~~~~~~~~~~~~~~~~~~~~~~~~~~~~~~~~~~~~~~~~~~~~~

You will need.....
small fabric scraps (or recycle old clothing)
scissors
sewing machine
thread
hand needle
thin ribbon
ruler
chalk pencil or something to mark fabric
optional tiny buttons

I started by cutting a leftover piece of fabric into a rectangle shape. I used a cotton woven, but you could use felt or a knit fabric if you don't want to worry about fraying edges. If you use a woven fabric you will need to either serge or zigzag stitch over the two smaller ends.


 photo pursetutorial001.jpg

Then fold those ends over with wrong sides facing and sew a straight seam, this will be the top of your tote bag.
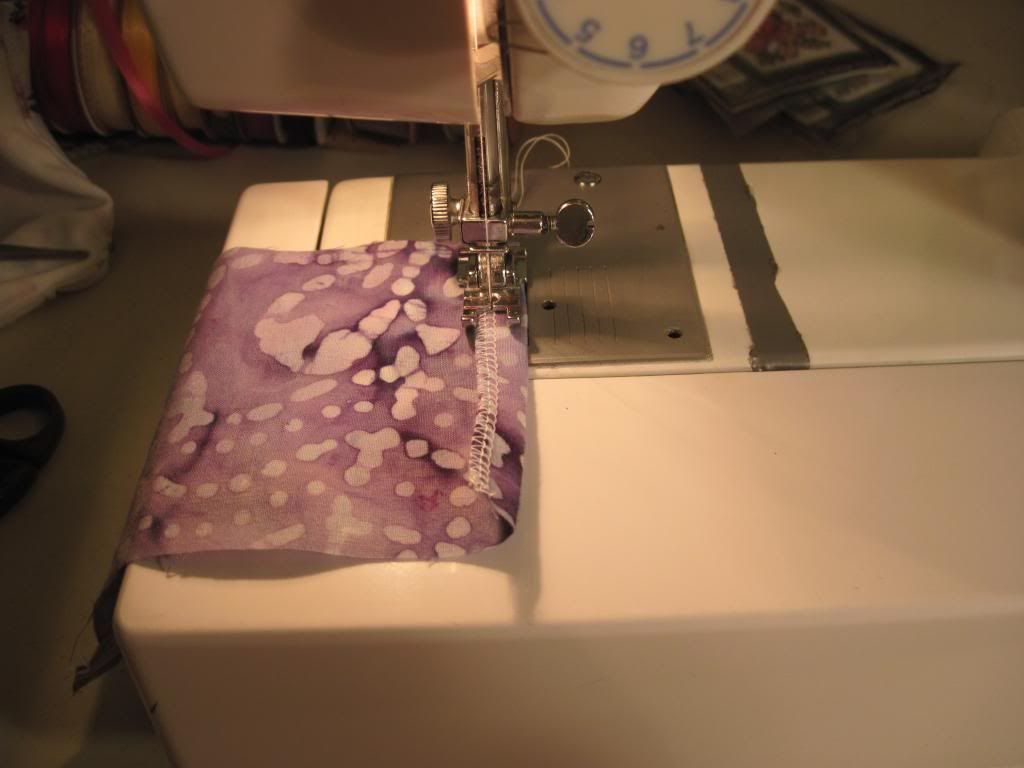

 photo pursetutorial002.jpg

Now fold the piece in half longwise with the wrong sides facing, and serge or zigzag stitch up the sides.
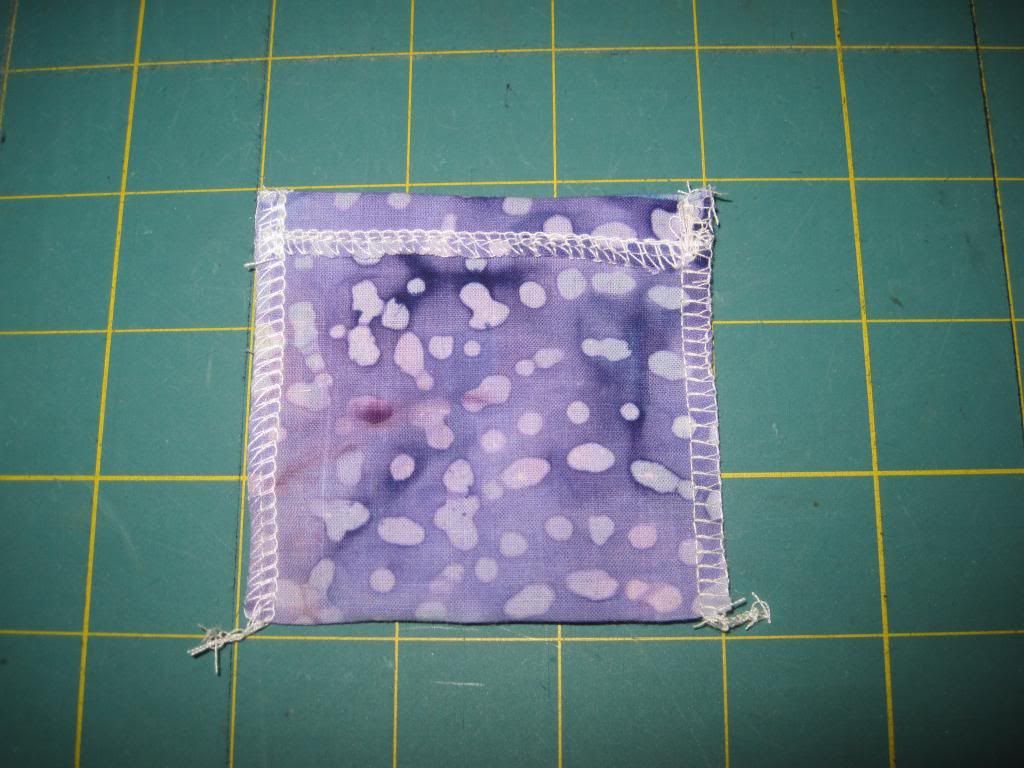
 photo pursetutorial004.jpg


Turn right side out, and this is an important step, use a ruler to measure from each side where you want to place your straps. Mark it with a chalk pencil or mark it lightly on the inside if you don't have anything that will wash off.  I used a thin ribbon for the straps, it worked really well. I had some teeny tiny buttons so I added those to make it look decorative, but they aren't necessary. I hand sewed the straps on, it took just a few minutes. Make the straps as long or short as you like.
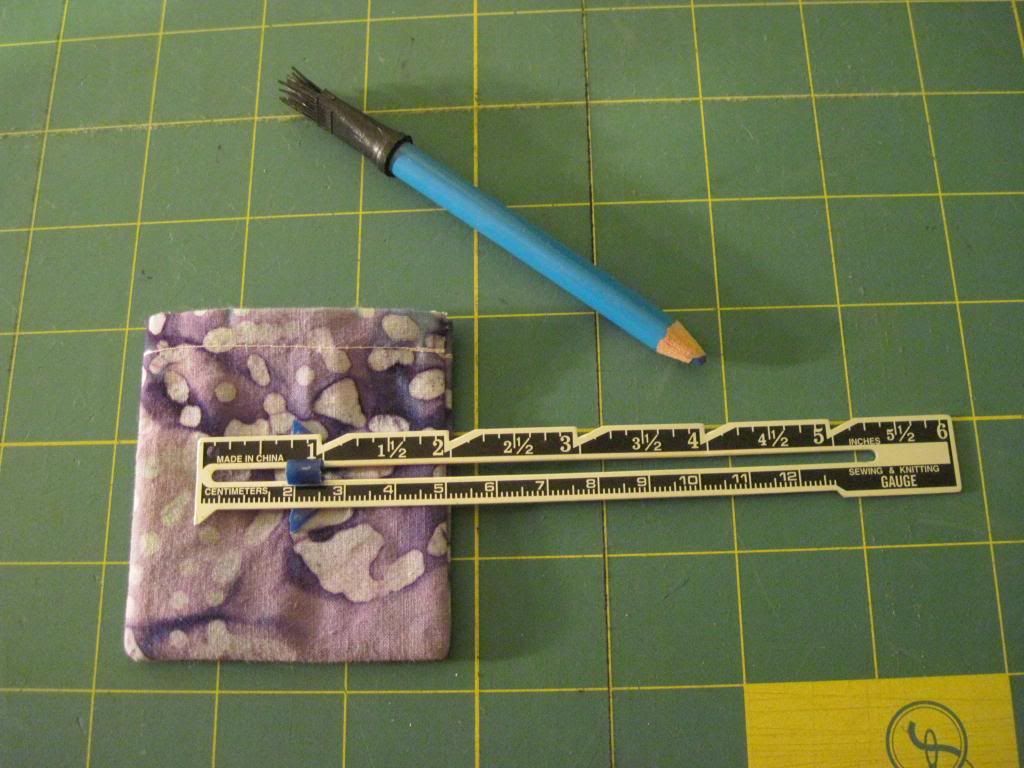
 photo pursetutorial005.jpg


This is what happens if you don't measure for the strap placement first. The first one is crooked. I will re-sew that one because I'm a sewing perfectionist like that.
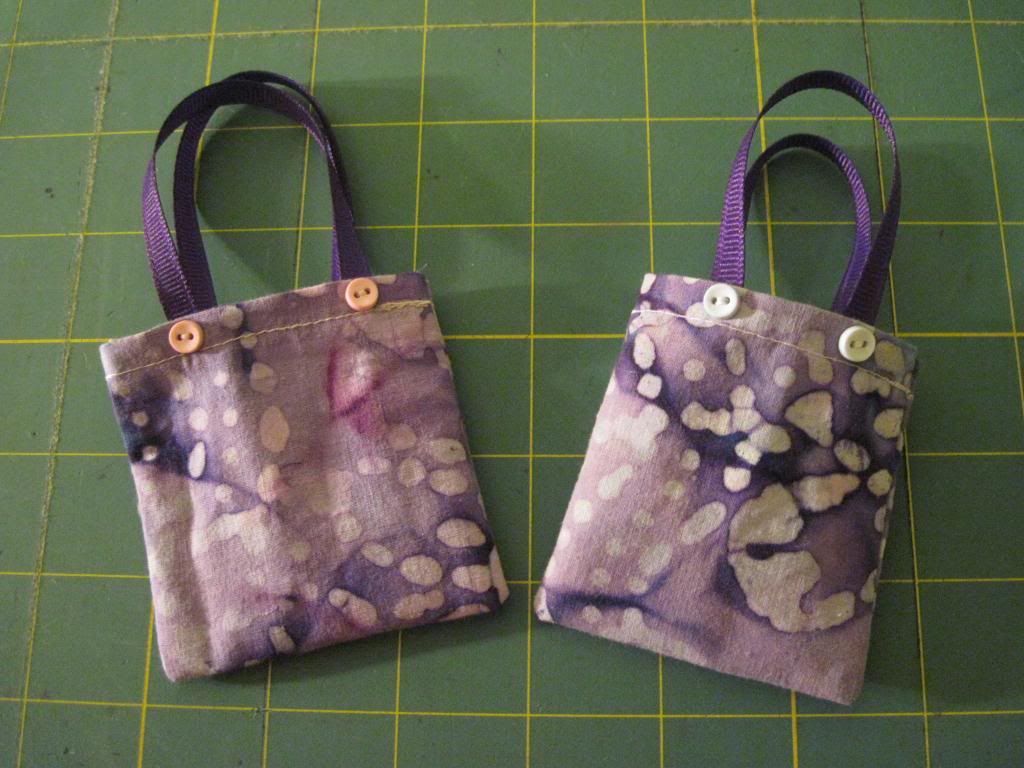

 photo pursetutorial006.jpg

The dolls are ready to hit the library now! I'm going to fill them with tiny pretend books too. They also have matching outfits in the works to go with them. We have such well dressed dolls around here.
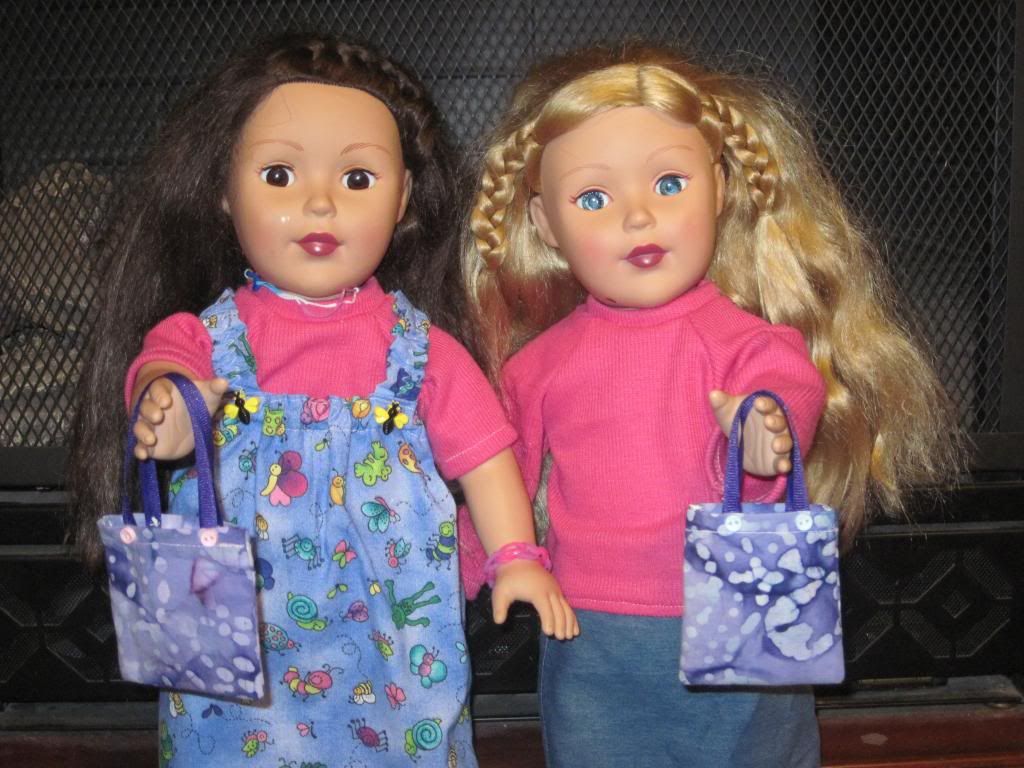
 photo pursetutorial007.jpg

I hope you enjoyed this tutorial! If you have any questions just comment below.

I'm feeling generous today and I'd like to give away a doll tote to a little doll lover out there. Just enter through the Rafflecopter form below to win! The drawing will be December 13th so that it will arrive before Christmas.So enter now!

a Rafflecopter giveaway

Tuesday, June 4, 2013

Make your own Greek yogurt at home!

Do you love Greek yogurt but the price keeps you from buying it? You can make it at home for much less! It is easy too, and if you also make your own yogurt at home its even cheaper!

Greek yogurt is simply regular yogurt that has been strained to remove the extra liquid whey. You can use any plain yogurt, any fat content to make it.

First place a colander over a bowl. Line it with something to put the yogurt in. I use a coffee filter inside my colander but you can use cheese cloth or a strong paper towel as well. Pour in your yogurt, but not too much that if overflows the filter.


 photo June4th010_zps6d14d2aa.jpg

Now just put it in your fridge for a few hours. The longer it strains the thicker it will be. I usually do this before I go to bed at night, and in the morning its ready to eat!

 photo June4th007_zps08ce8915.jpg

Look how much whey came out, amazing!

 photo June4th008_zpsd8264a6f.jpg

Now that's thick and creamy goodness right there...mmmm!

 photo June4th009_zpsa8cf3503.jpg


It costs me about $3.00 to make a gallon of yogurt in my crock pot. I would estimate you get about 1/2 gallon of Greek yogurt from that gallon of yogurt. Compare that to the price of Greek yogurt in a store, major savings!

Now just add your favorite toppings or use it in any recipe that calls for Greek yogurt, and enjoy!


Tuesday, May 28, 2013

Make Your Own Yogurt in a Crock Pot / Slow Cooker

There are many many blog posts about making your own yogurt at home with your crockpot.  I get asked a lot for the recipe and how I do it so I decided to make a tutorial to share. This is not the only way to do it, but it is what works best for me.

I promise this is easy! Don't be afraid!

Crock Pot / Slow Cooker Yogurt


Ingredients
 1 cup Dannon plain yogurt or a yogurt starter culture
1 gallon milk, can be any fat content
(I use skim milk because I am on the Trim Healthy Mama plan, but I make it with whole milk for my kids.)

Yes you can cut this recipe in half or even fourths if you do not need an entire gallon of yogurt.

Supplies needed
Large Crock Pot / Slow Cooker (5 quart or larger)
Candy thermometer (these cost about $5.00 and are available at most grocery stores)
Medium sized bowl
Rubber spatula
Container with lid for yogurt when its done (I use a gallon size ice cream bucket, but you can use multiple containers if you wish)
Small container with lid to keep your starter in (needs to hold 1 cup)
Spoon
Fork

IMPORTANT!
Pick a day when you can start this early in the morning. The process takes a few hours but most of that is just letting it sit so the live cultures can work. You can also start your yogurt in the evening and let it sit overnight.


 photo MayResize_208_zpsa3951012.jpg

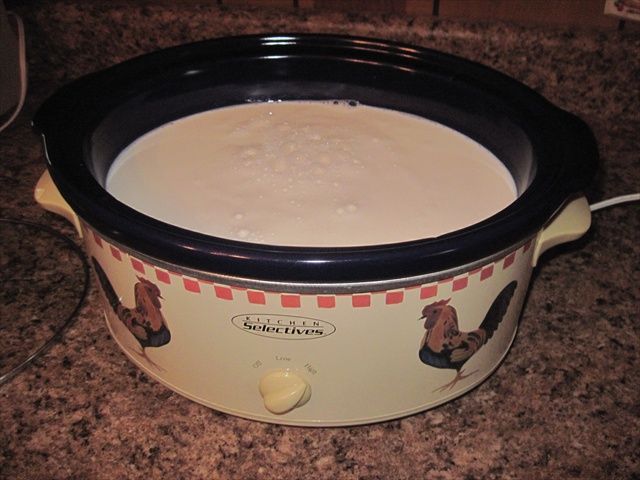
Pour 1 gallon of milk into your crockpot, put on the lid and turn it on high. Set your timer or phone for 3 hours. If you go over 3 hours it will be fine, but you need at least that long to get it up to the right temperature to kill off any bad bacteria (180 degrees). You can use your candy thermometer to check the temperature if you want to, but I usually don't at this point. If I were using raw milk I definitely would though. 

By the way if you are short on time, this step can be done on the stove top. Use a heavy bottom pot and watch your milk carefully so it doesn't scorch. I have ruined a lot of yogurt this way because I'm so distractable, so using my crockpot saves me from myself!

 photo MayResize_341_zpse9ffca28.jpg


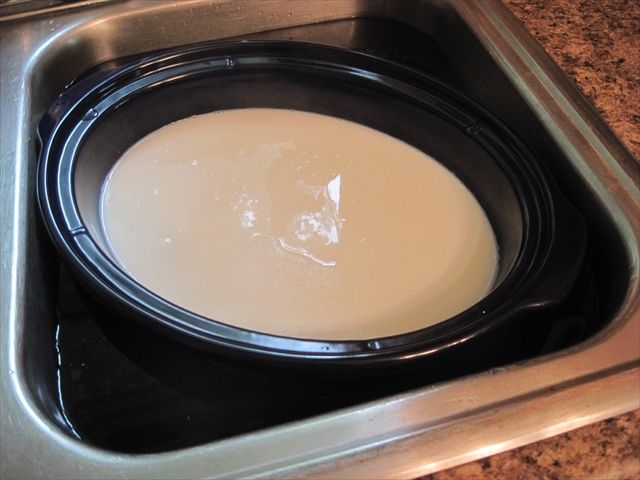
The next step is to let your milk cool off to 120 degrees. I do this by filling my sink halfway with cold water and setting my crock inside. You can also just let it sit and cool, but that takes longer. 


 photo MayResize_344_zpsa3b62cda.jpg

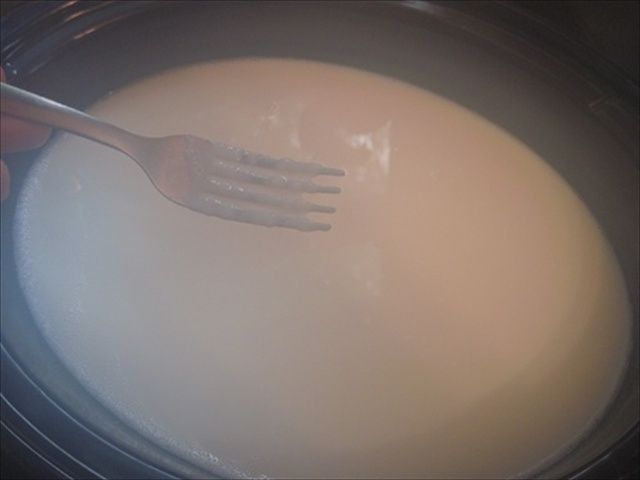
A "skin" will form on the top of your milk as it cools. Use a fork to remove it, and feed it to your cat if you have one. My cats wait with baited breath for this treat! Sorry the picture is blurry. Its actually steamy. Condensation formed on my camera lens from the warm milk.

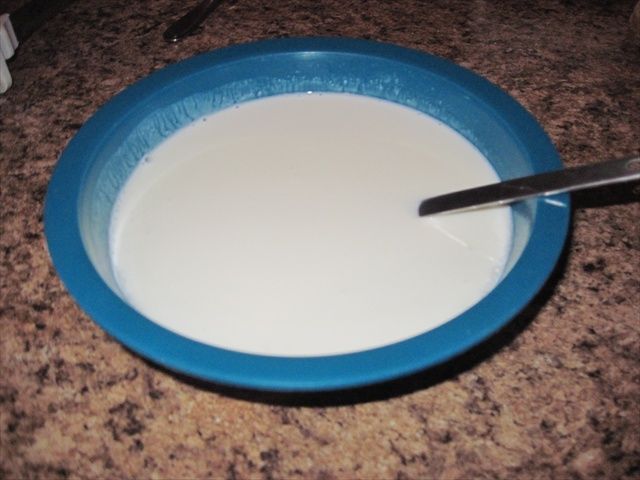
When your milk gets to 120 degrees, take it out of the water and put the crock back in its case. Remove 2 cups of the milk and place in a bowl along with the cup of Dannon plain yogurt or your starter culture. Stir it till its blended well, then add it back into your crock.


 photo MayResize_210_zpsd795a714.jpg

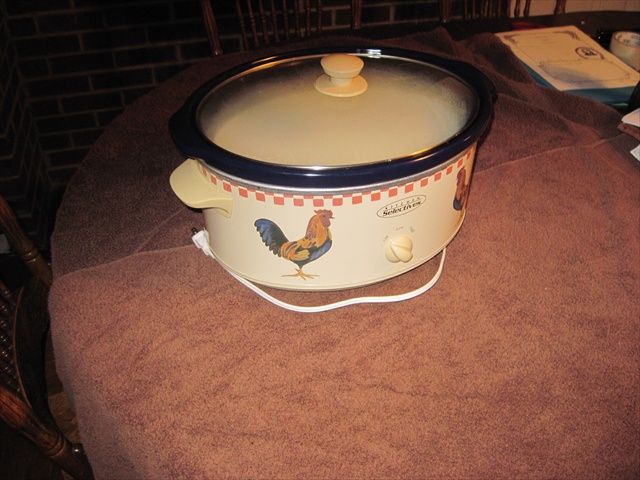
Now its time to incubate it and let those magical cultures do their work! Lay two large bath towels out on your table side by side and place the whole crockpot in the middle.


 photo MayResize_211_zps17731838.jpg

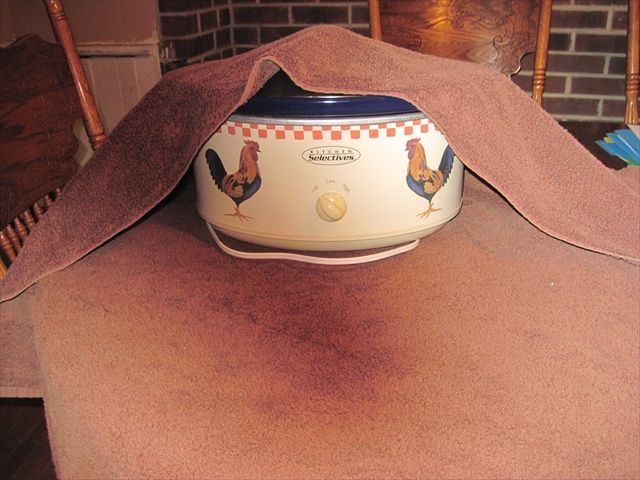
Wrap one edge of the towel over the long side. Then fold the other side over the top.


 photo MayResize_212_zpsf7ba8263.jpg

Fold up the ends and your crockpot now has a nice cozy cocoon around it to keep everything nice and warm. Now simply leave it alone for about 7 hours. I leave mine right on the dining room table, but if its in the way for you put it somewhere else. Just don't forget about it! (I would!) Better yet set an alarm on your phone or something to remind you to go get it later on this evening. 

 7 hours is just a suggested time, its what works for me. The longer it sits the tangier it gets because the lactose is eaten up by the bacteria. It would be of great benefit to a lactose sensitive person to let it sit longer. If your first batch is a little too tangy for your liking, next time try 6 hours instead.


 photo MayResize_214_zps54370475.jpg

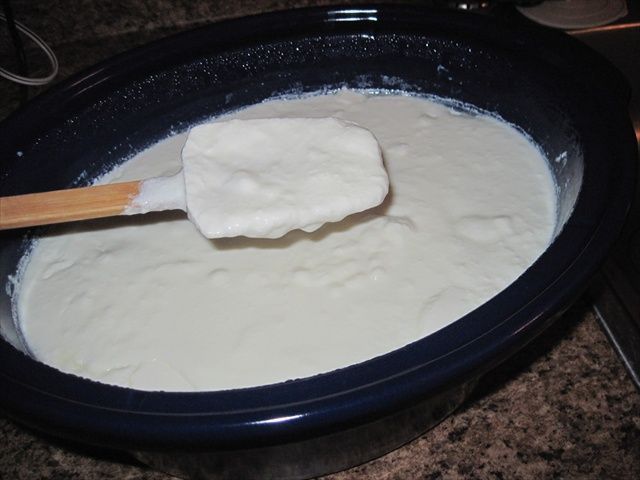
Here is my yogurt 7 hours later. It is kinda lumpy at first.


 photo MayResize_215_zps8a8ebd3d.jpg

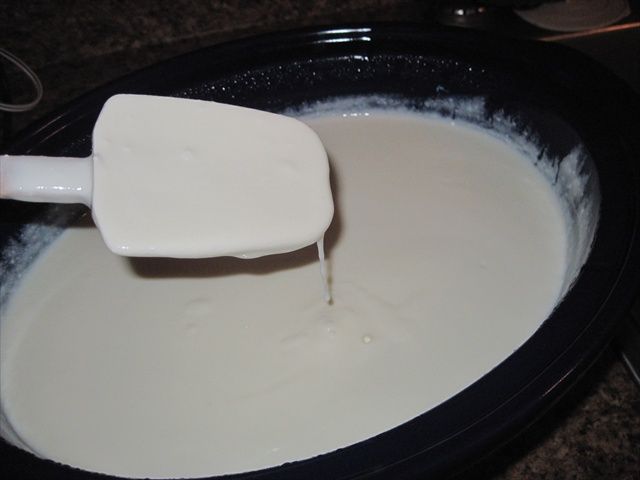
Stir it up well and it gets creamier and thicker.


 photo MayResize_216_zpsf9b40f7c.jpg

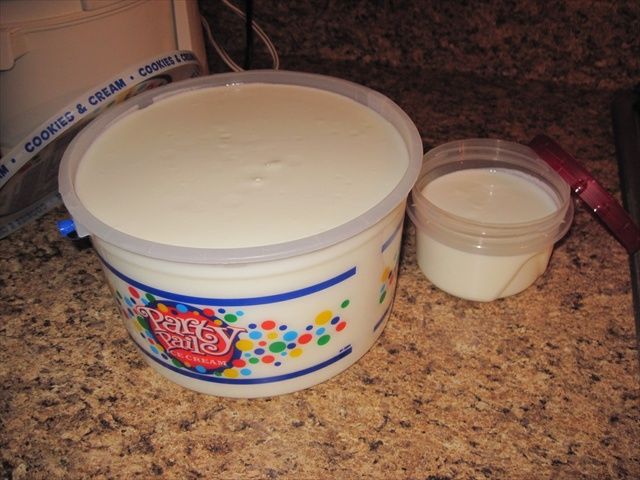
Take out a 1 cup portion and put it in a small container with a lid. This will be your starter for your next batch of yogurt. Pour the rest in another container or in serving size bowls if you wish. Scrape the edges with a rubber spatula to get it all out. Refrigerate overnight. In the morning it will be even thicker.

 photo MayResize_217_zpsedd7742c.jpg

And that's it! That wasn't too hard was it? Now I have a whole gallon of yogurt for less than $4.00!


You can also turn your yogurt into Greek yogurt, its easy too!