Showing posts with label Sewing. Show all posts

Wednesday, December 4, 2013

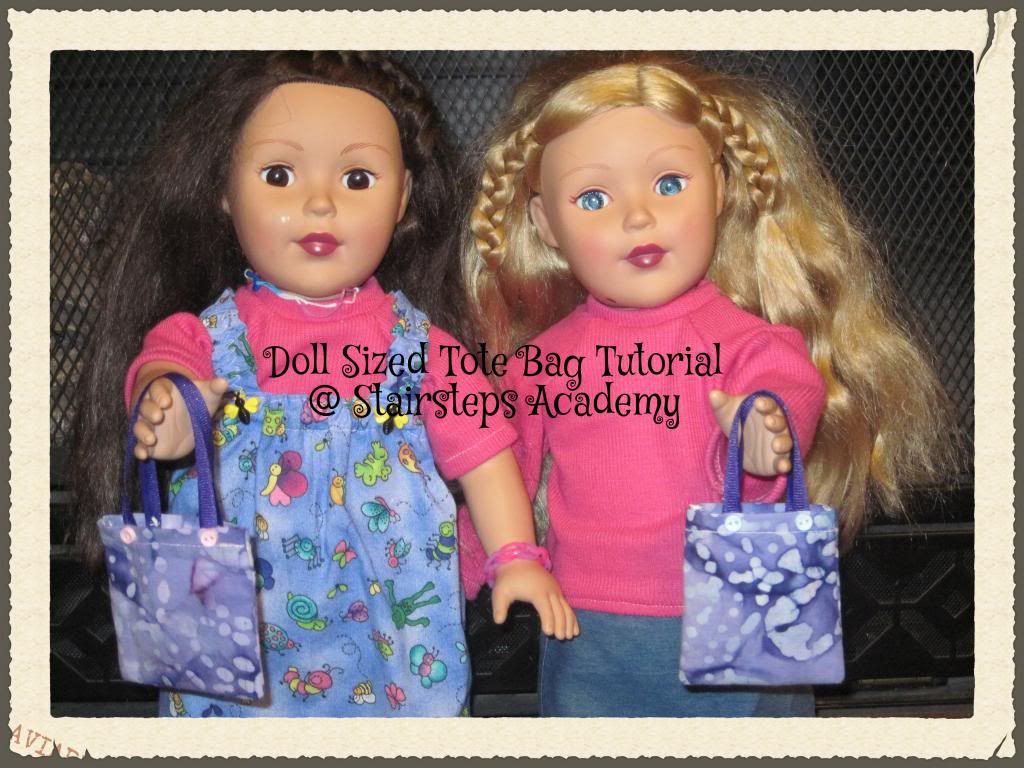
I is for Itty Bitty Doll Sized Tote Bag Tutorial

Blogging Through the Alphabet

I is for Itty Bitty Doll Sized Tote Bag Tutorial

 photo 3263fe80-abbf-447f-ae8d-13cb1bc94490.jpg

I am still sewing away making doll clothes and accessories for my girls and their dolls for Christmas. I am so thankful to Rosie's Doll Clothes Patterns for reviving the sewing joy I used to have. I am truly enjoying sewing again, and I just know my girls are going to be thrilled on Christmas morning!

I always have these small scraps of fabric left over when sewing, too small to do much with yet too big to just throw away. (One of these days I will have to start quilting!) I had a eureka moment this evening when one of my daughters mentioned going to the library. My girls love their special library bags, I bet the dolls would love one too!

~~~~~~~~~~~~~~~~~~~~~~~~~~~~~~~~~~~~~~~~~~~~~~~~~~~~~~~~~~~~~

You will need.....
small fabric scraps (or recycle old clothing)
scissors
sewing machine
thread
hand needle
thin ribbon
ruler
chalk pencil or something to mark fabric
optional tiny buttons

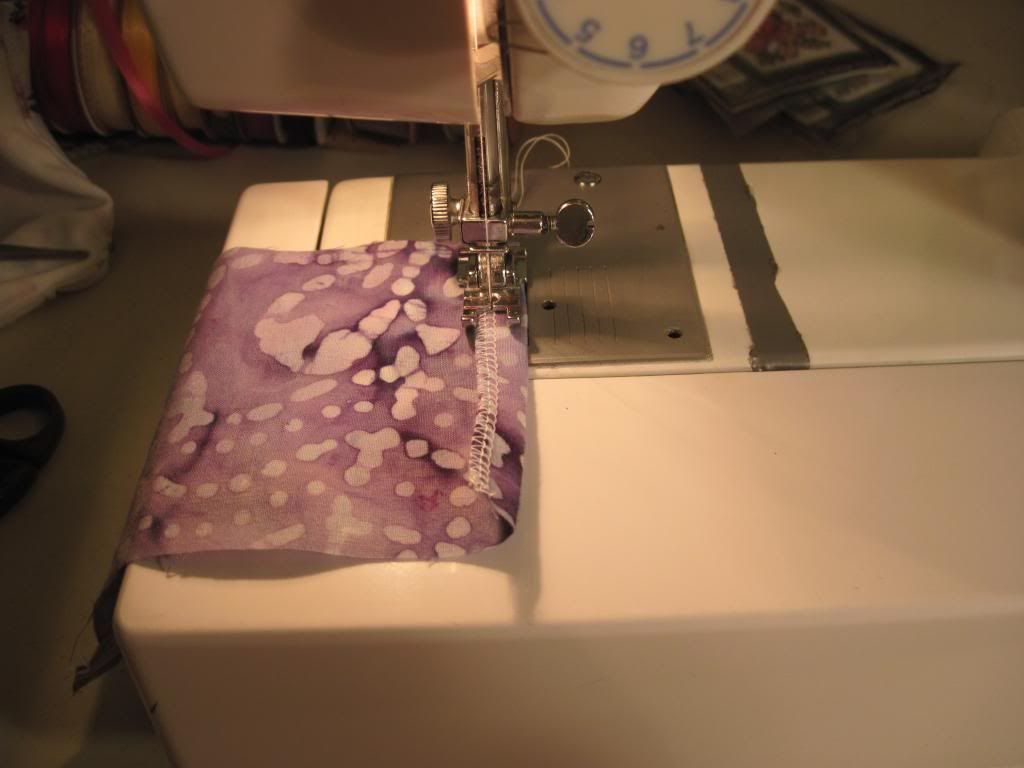
I started by cutting a leftover piece of fabric into a rectangle shape. I used a cotton woven, but you could use felt or a knit fabric if you don't want to worry about fraying edges. If you use a woven fabric you will need to either serge or zigzag stitch over the two smaller ends.


 photo pursetutorial001.jpg

Then fold those ends over with wrong sides facing and sew a straight seam, this will be the top of your tote bag.


 photo pursetutorial002.jpg

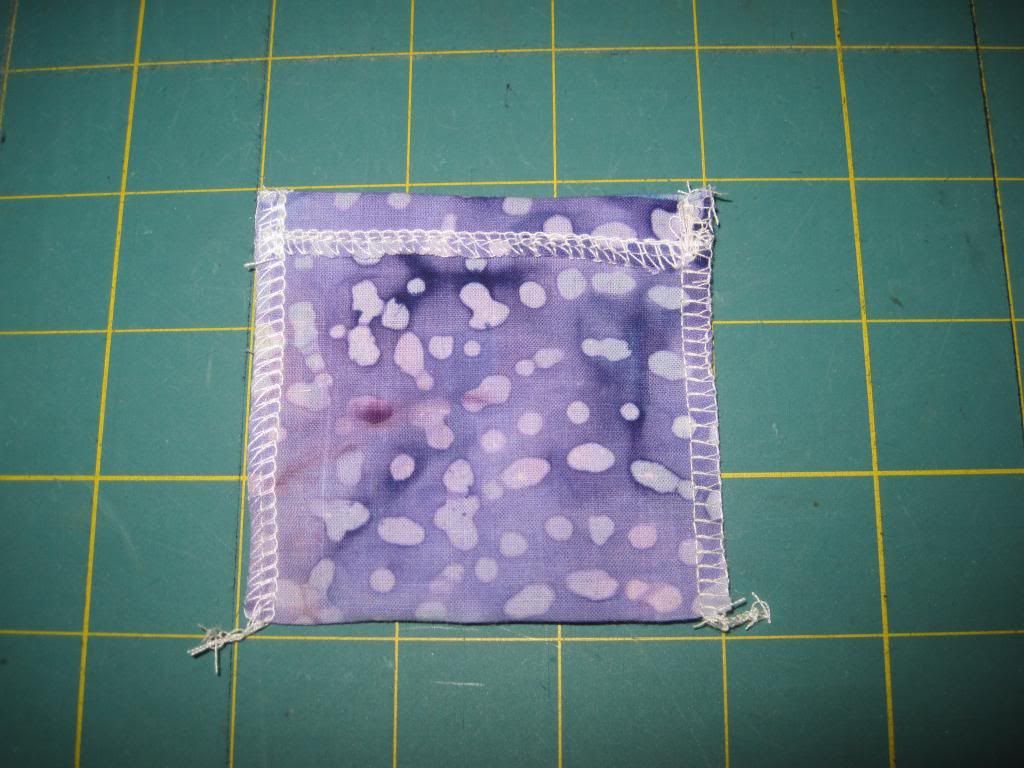
Now fold the piece in half longwise with the wrong sides facing, and serge or zigzag stitch up the sides.

 photo pursetutorial004.jpg


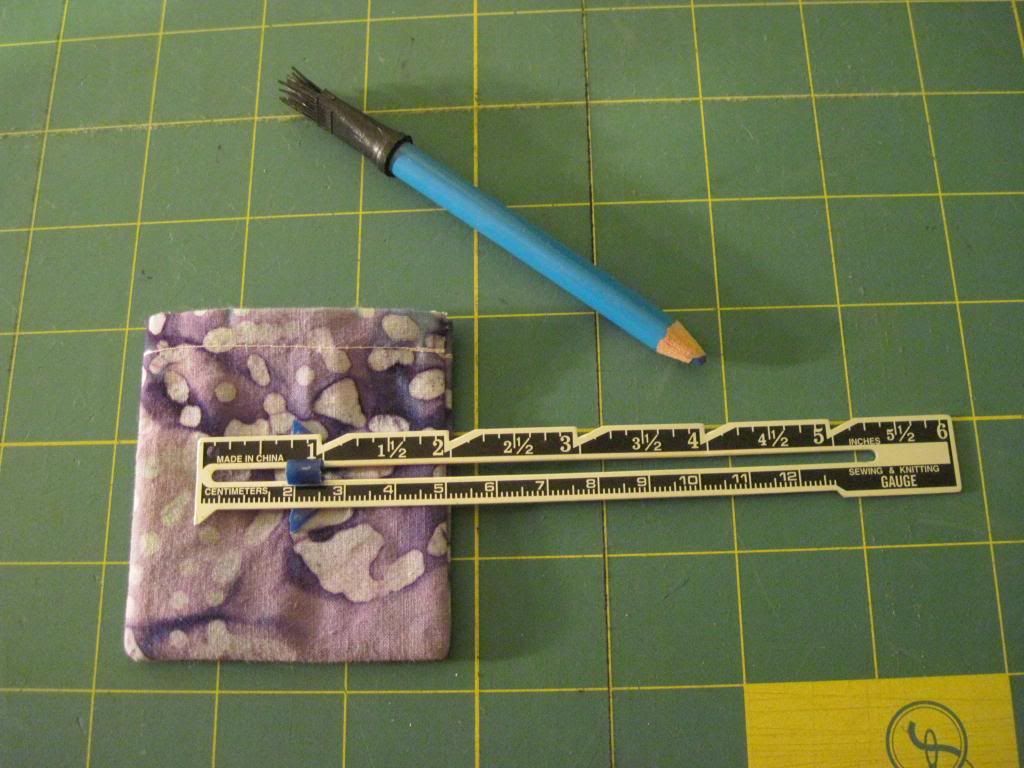
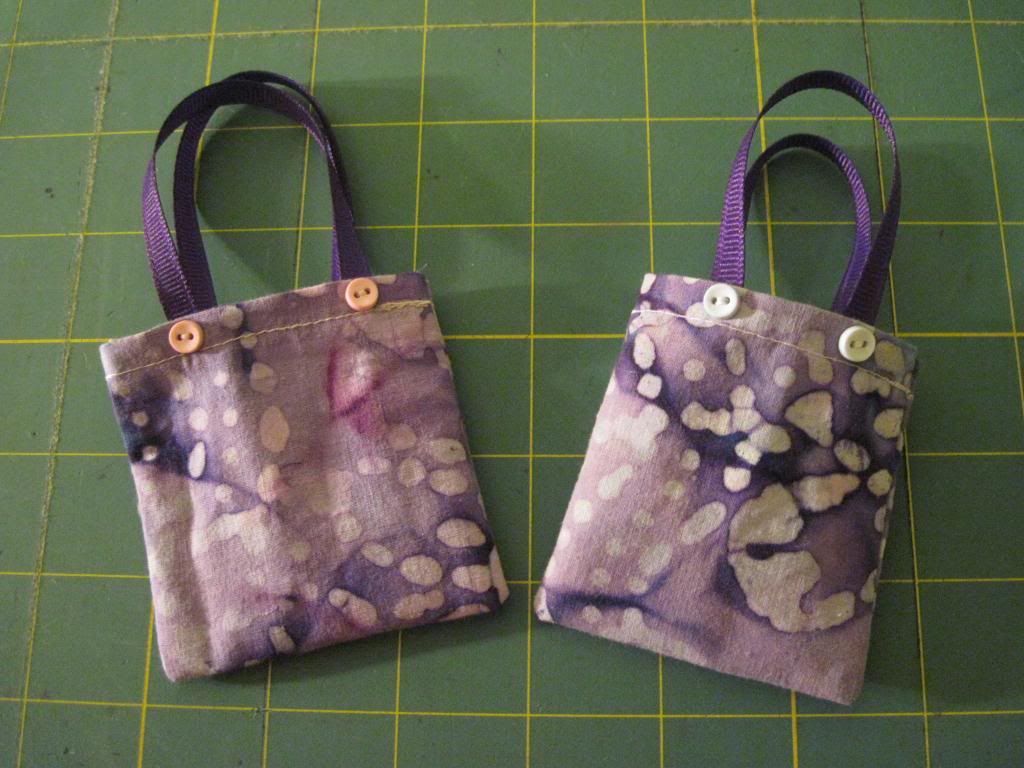
Turn right side out, and this is an important step, use a ruler to measure from each side where you want to place your straps. Mark it with a chalk pencil or mark it lightly on the inside if you don't have anything that will wash off.  I used a thin ribbon for the straps, it worked really well. I had some teeny tiny buttons so I added those to make it look decorative, but they aren't necessary. I hand sewed the straps on, it took just a few minutes. Make the straps as long or short as you like.

 photo pursetutorial005.jpg


This is what happens if you don't measure for the strap placement first. The first one is crooked. I will re-sew that one because I'm a sewing perfectionist like that.


 photo pursetutorial006.jpg

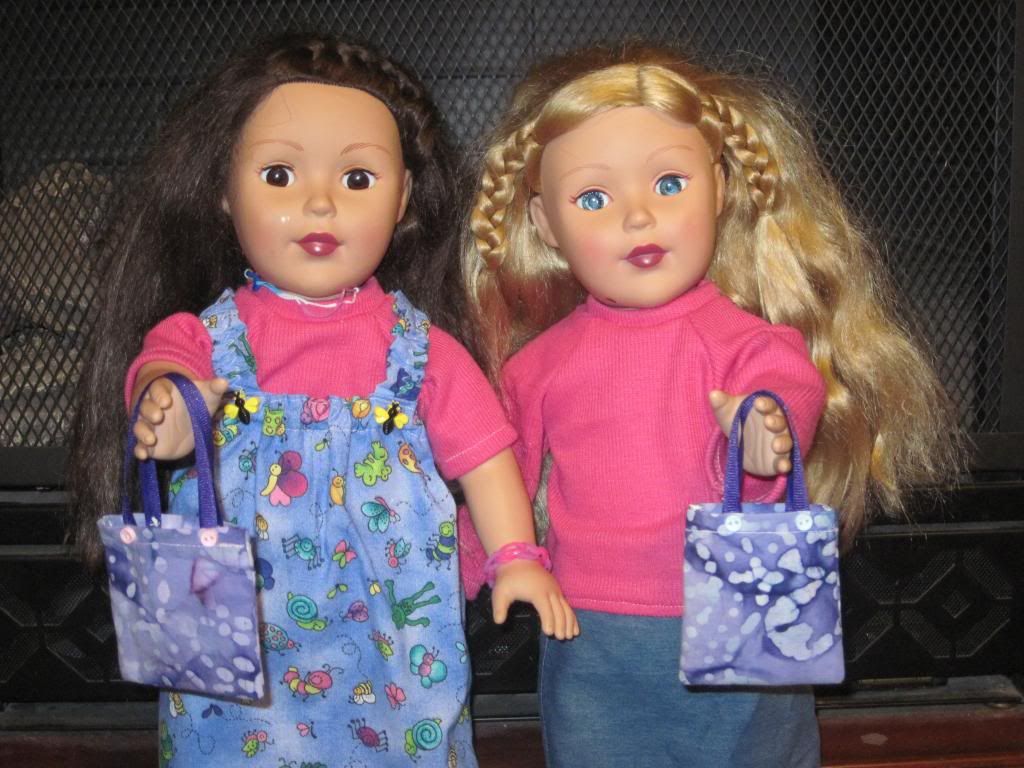
The dolls are ready to hit the library now! I'm going to fill them with tiny pretend books too. They also have matching outfits in the works to go with them. We have such well dressed dolls around here.

 photo pursetutorial007.jpg

I hope you enjoyed this tutorial! If you have any questions just comment below.

I'm feeling generous today and I'd like to give away a doll tote to a little doll lover out there. Just enter through the Rafflecopter form below to win! The drawing will be December 13th so that it will arrive before Christmas.So enter now!

a Rafflecopter giveaway

Tuesday, October 29, 2013

Review ~ Rosie's Doll Clothes Patterns


 photo rosies2_zpse8168139.jpg

 Hello, my name is Beth, and I have become a doll clothes sewing addict!

God has blessed me with 3 little girls at home right now, so there are lots of dolls to dress up around here. Dress up is a daily thing for the girls, so of course dressing up their dolls is something they enjoy doing too. I have loved reviewing the Learn How To Make Doll Clothes Video Course from Rosie's Doll Clothes Patterns website. It was made for ages 8 and up, so it is perfect for sewing together with your kids.

Rosie is a mom who remembers making doll clothes when she was a young girl, but when she started making them for her own daughter they seemed much harder to make than when she was little. She began designing her own patterns and instructions, then took it a step further and made video lessons to go with each pattern so others could learn to sew beautiful doll clothes too.


 photo HSReview181.jpgWith this course you get 6 weeks worth of video sewing lessons, over 130 of them, which are streamed from Rosie's website so there are no huge files to download. For those of you with flaky internet, I feel your pain, and the course is also available on DVD's for you! The patterns and instructions can be printed and kept forever. The video lessons can be watched for a full year, so there is plenty of time to try out all 8 patterns that are included for free with the course. These patterns are for 18 inch dolls like American Girl, What A Doll, Australian Girl, etc. Patterns for Cabbage Patch dolls are also available to go along with the course if you prefer those instead, just email Rosie after your purchase and she will arrange that for you.


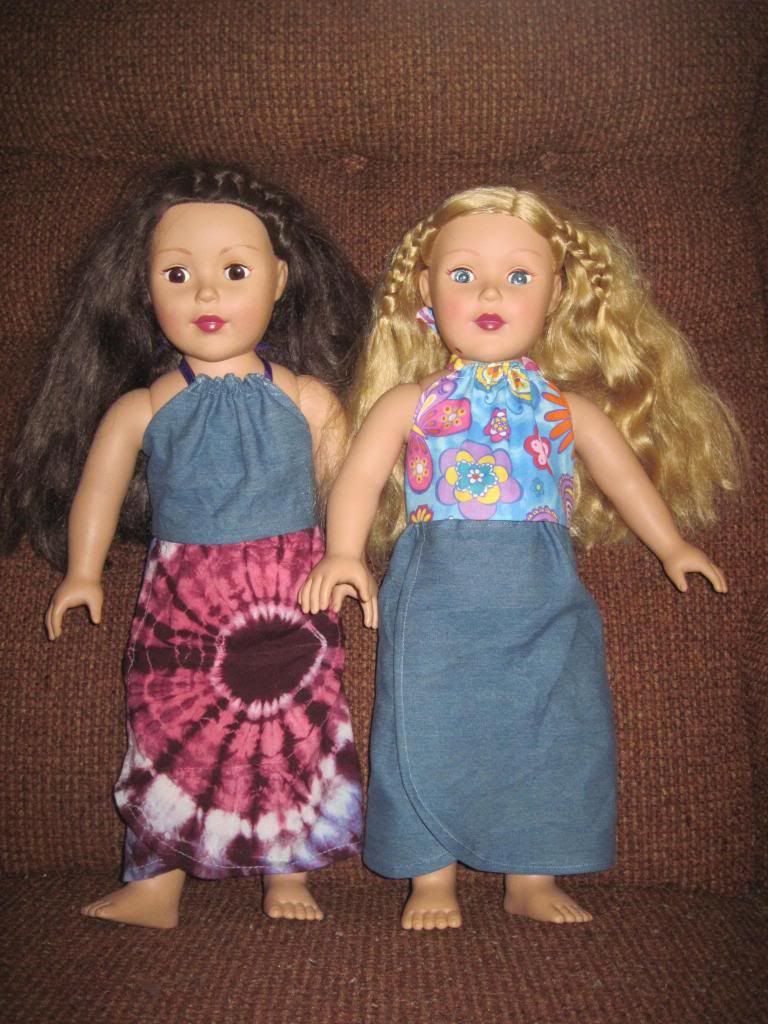
The bonus patterns include Sport Shorts, Crop Top, Sarong, Halter Top, Summer Nightie, Hat, Underpants, and a Pumpkin Costume. We made everything except the Pumpkin Costume because we couldn't find the fabric for it locally.

 photo HSReview088.jpg
My daughters and I watched the videos together from the beginning. I have been sewing for years so much of it was nothing new for me, but for them it was just what they needed. Everything is covered from what tools you will need to setting up a sewing space to step by step sewing demonstrations.

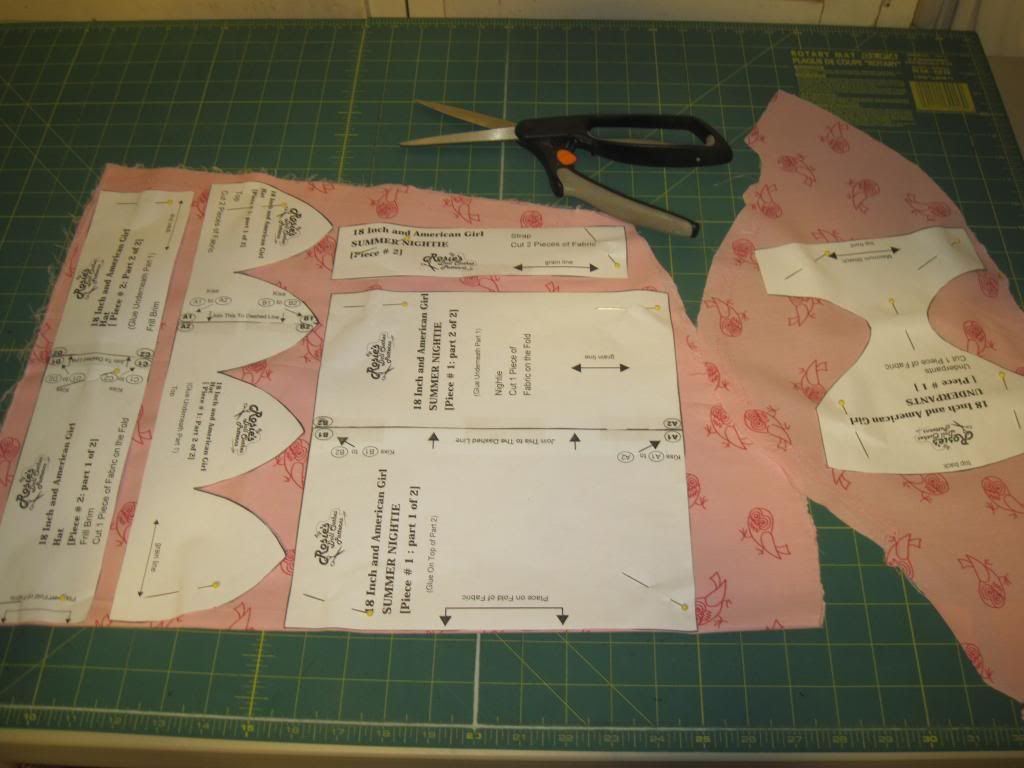
My 9 year old daughter ironed the fabric, cut out the pattern pieces after I printed them, and pinned them on the fabric properly after watching the first few videos. Each lesson is short, no longer than 10-12 minutes each.


 photo HSReview092.jpgI was very impressed by how thorough her videos are. They are very clear with good sound quality and you can see every little detail while she is demonstrating each step. Of course watching a video and actually sewing are two different things. I am a hands on learner, but being able to watch things being done first was very helpful. My daughter is a visual learner, so this was right up her alley.

Rosie has truly found easier ways to sew doll clothes, her tips and tricks were pretty amazing. Based on my past experiences, sewing doll clothes is a pain, but I have genuinely enjoyed sewing with her patterns and instructions.

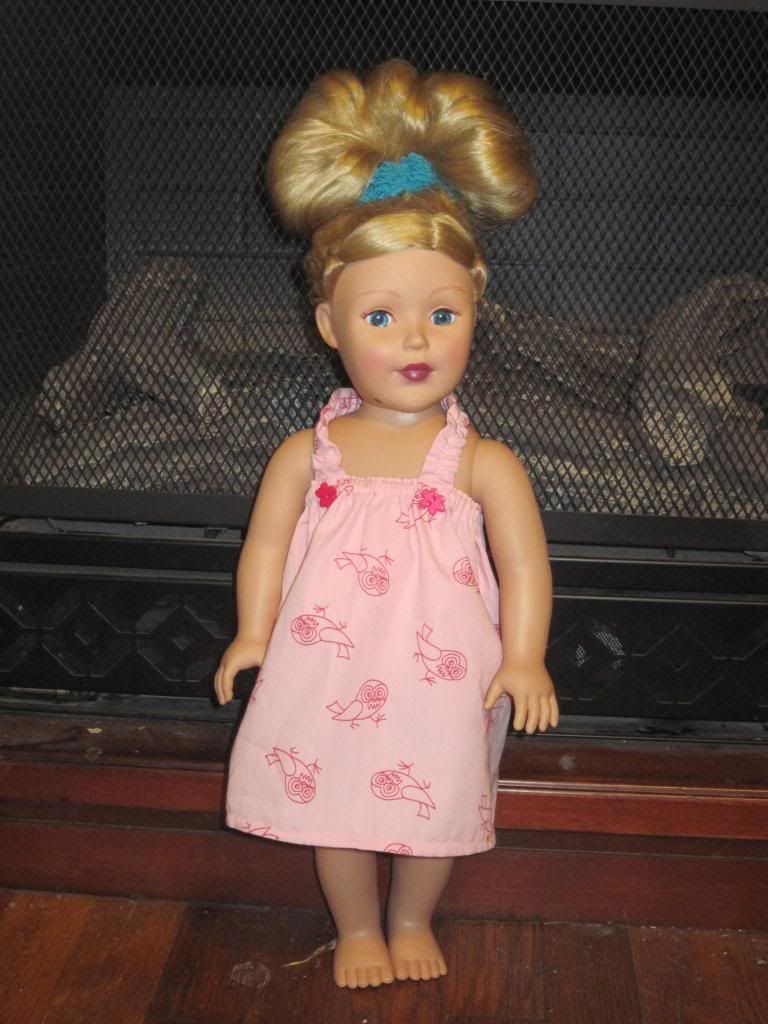
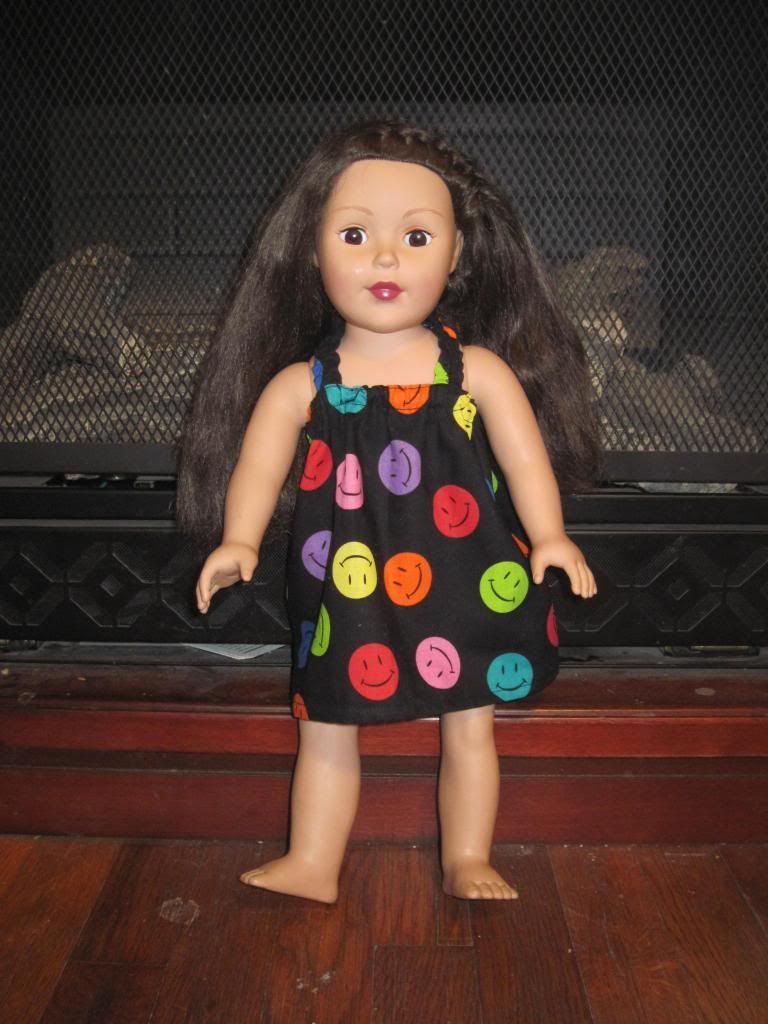
Rosie gives the cutest ideas for adding things like buttons and lace to make your outfit one of a kind and special. My daughter picked buttons to add to this summer nightie. We think the nightie pattern looks like a sundress too.


 photo HSReview172.jpgYou don't need large amounts of fabric to make the outfits, I have used up a bunch of small odd shaped pieces.

We also recycled clothing that was stained, outgrown, or just loved too much to give away to make new outfits. This was another of Rosie's great ideas. The tie dyed sarong was originally a pair of pants from the thrift store, then pillowcase dresses worn by all 3 of my youngest girls, and now they can enjoy it on their dolls.

The denim fabric was a dress I got out of the free bin at the thrift store with a big stain on it. I got several pieces out of that one dress that would have been thrown away. I look in those bins with a different view now. There are so many things that can be re-used, its like a smorgasbord of sewing fun for free!
 photo HSReview171.jpg

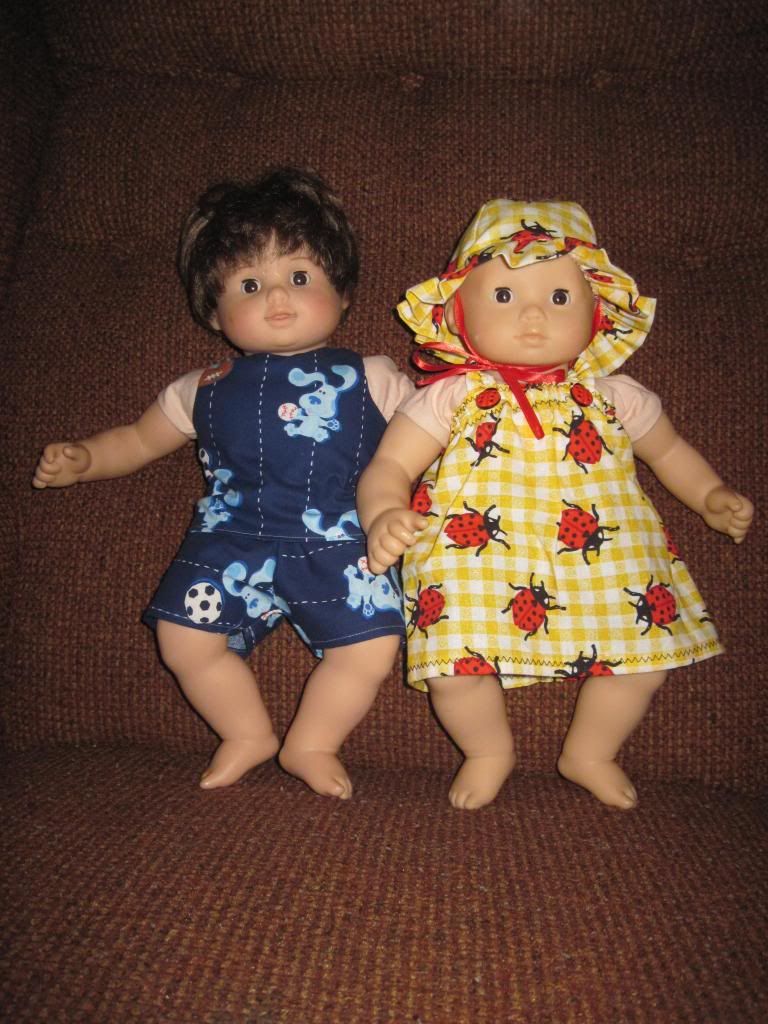
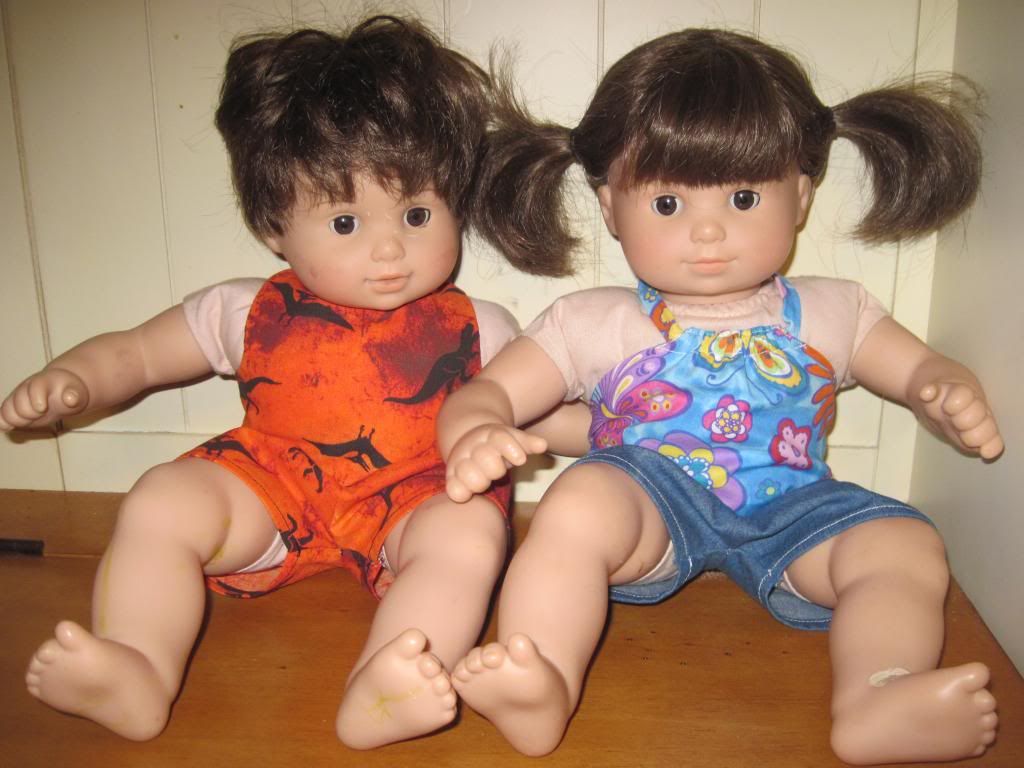
Rosie gives tips for making the clothes fit other size dolls. I modified the patterns a bit so that their 15 inch Bitty Babies could wear them. We have one Bitty Twin boy doll and he couldn't be left out. The sport shorts are gender neutral, I added length to the crop top so it looks more like a tank top. Now he's stylin' too!

I plan on purchasing more patterns and making clothes for the girls' dolls for Christmas. I am looking forward to seeing even more patterns available in the future. I'm hoping for shoe patterns!


 photo HSReview182.jpgSewing is one of the most important life skills I want my kids to know how to do. It saves you money, is enjoyable, and is something my family has always done. My grandpa was still hemming his pants to fit his short legs when he was in his 80's. You can also make extra money or even an entire income with sewing skills.


 photo HSReview102.jpg

The time I have spent with my daughters making these outfits has been wonderful! When I think back on my days as a girl I don't remember half of the gifts I received, but I do remember the time that people spent with me. I remember the things people taught me to do, like sewing and cooking. I am making memories with my kids and that is the best investment any parent can make!

If sewing is something you enjoy or want to learn to do, the Learn How To Make Doll Clothes Video Course is a fun way to spend time together, to learn together and be creative, and is a gift your child will not forget.


 photo Rosies_zpsc853bd7c.jpg
You get a full year of access to over 130 sewing videos, 8 patterns with instructions to download and keep forever for $48.00 USD ($49.94 AUD) You can also choose DVD's for $67.23 USD ($69.94 AUD) Prices are correct at the time of this posting, they could fluctuate a bit depending on the exchange rate.

Special price note from Rosie's Blog

From now until midnight on the 24th December, 2013 when you purchase my How to Make Doll Clothes video course I’m giving away an additional pattern of your choice absolutely free!

She even offers a money back guarantee! Try a taste of her tutorials for FREE, scroll to the bottom of the page and enter your name and email.


Photobucket

 photo DisclaimerGraphic1_zpsf612f371.gif

Thursday, July 11, 2013

Finished Dress #1

We have been working a little here and a little there on a dress for a few weeks now. Today we finally finished it! It was one of those printed panels that you just cut out and sew, no pattern needed.

 photo 0711194846_zps291fcdb1.jpg

I made one of these years ago in a different pattern and it has been worn and outgrown by all 3 of my little girls. This one will only get to be worn by two, River is too tall. It fits Skye perfectly!

 photo 0711194858_zps561e9739.jpg

Next year it will be passed to Star.....

 photo 0711194930_zpsc9012dc0.jpg

She is very proud to be wearing it now!

 photo 0711194959_zpsbb60c9ea.jpg

We have two more of these panels to work on, one for back to school and one for Christmas. Ill post pictures when they are finished.

Have a blessed day!

Saturday, April 20, 2013

Showers of (fabric) blessings!

A very sweet and generous lady gave my girls a bunch of fabric after seeing pictures of them sewing on my husbands facebook page. It was like Christmas!

 photo 0402142703_zpsa16e8f4b.jpg

THANK YOU so much, the girls are so excited about all of this!

Ill be sure and post pictures of everything they create with all of this. They have many ideas in their heads, I simply need to take the time to help them decide and cut and get started. Time seems to be in short supply recently! Some activities are ending for the year soon, and we can use that time to do some serious sewing. :)

Id love ideas! Leave me comments with projects you have done with your girls, and any tutorials or blog posts you have written please :)

Monday, January 28, 2013

Fairy Dolls

Over the weekend the girls and I finished making fairy dolls from kits their aunt gave them for Christmas. It actually took two weekends to do this. The first weekend, my oldest daughter was home and she helped stuff them and make the skirts. Yesterday we finished up the hair, added the jewels and the finishing touches.

 The girls insisted I share pictures after all the work we did putting these together :0)

River's Doll.....

 photo 0127154749.jpg

 photo 0127154823.jpg

 photo 0127155021.jpg

Skye's Doll.....

 photo 0127154715.jpg

 photo 0127154848.jpg

 photo 0127154951.jpg

Star's Doll.....

 photo 0127154738.jpg

 photo 0127154908.jpg

 photo 0127154927.jpg


Saturday, January 12, 2013

River's First Sewing Project ~ Pillow

I posted earlier about River getting her own sewing machine for Christmas. I promised to share pictures of her projects and here is the first one.....

Pinning the edges of the fabric.....
Photobucket

First stitches on her machine.....
Photobucket

Sewing around the edges.....
Photobucket

Turning the fabric right side out after sewing.....
Photobucket

Stuffing.....
Photobucket

Hand sewing the opening closed.....
Photobucket

Finished!
Photobucket

More projects coming soon!

Friday, January 4, 2013

Learning to Sew

River is 8 now, and has always loved sewing and needle arts. She has used my machine quite a few times and does pretty well with it. We decided it was time she had her own sewing machine.....

Photobucket

Her Nan Nan gave her a bag full of little squares to make a doll quilt, she already has it laid out to begin sewing.

Photobucket

I think we may start out with bigger squares however, these are really small and she got aggravated with them quickly. I will post again when she has a finished project to share!