Showing posts with label Real Food. Show all posts

Tuesday, June 4, 2013

Make your own Greek yogurt at home!

Do you love Greek yogurt but the price keeps you from buying it? You can make it at home for much less! It is easy too, and if you also make your own yogurt at home its even cheaper!

Greek yogurt is simply regular yogurt that has been strained to remove the extra liquid whey. You can use any plain yogurt, any fat content to make it.

First place a colander over a bowl. Line it with something to put the yogurt in. I use a coffee filter inside my colander but you can use cheese cloth or a strong paper towel as well. Pour in your yogurt, but not too much that if overflows the filter.


 photo June4th010_zps6d14d2aa.jpg

Now just put it in your fridge for a few hours. The longer it strains the thicker it will be. I usually do this before I go to bed at night, and in the morning its ready to eat!

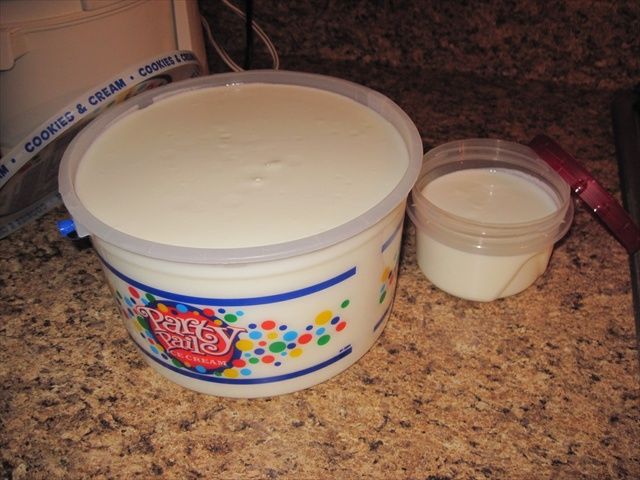
 photo June4th007_zps08ce8915.jpg

Look how much whey came out, amazing!

 photo June4th008_zpsd8264a6f.jpg

Now that's thick and creamy goodness right there...mmmm!

 photo June4th009_zpsa8cf3503.jpg


It costs me about $3.00 to make a gallon of yogurt in my crock pot. I would estimate you get about 1/2 gallon of Greek yogurt from that gallon of yogurt. Compare that to the price of Greek yogurt in a store, major savings!

Now just add your favorite toppings or use it in any recipe that calls for Greek yogurt, and enjoy!


Tuesday, May 28, 2013

Make Your Own Yogurt in a Crock Pot / Slow Cooker

There are many many blog posts about making your own yogurt at home with your crockpot.  I get asked a lot for the recipe and how I do it so I decided to make a tutorial to share. This is not the only way to do it, but it is what works best for me.

I promise this is easy! Don't be afraid!

Crock Pot / Slow Cooker Yogurt


Ingredients
 1 cup Dannon plain yogurt or a yogurt starter culture
1 gallon milk, can be any fat content
(I use skim milk because I am on the Trim Healthy Mama plan, but I make it with whole milk for my kids.)

Yes you can cut this recipe in half or even fourths if you do not need an entire gallon of yogurt.

Supplies needed
Large Crock Pot / Slow Cooker (5 quart or larger)
Candy thermometer (these cost about $5.00 and are available at most grocery stores)
Medium sized bowl
Rubber spatula
Container with lid for yogurt when its done (I use a gallon size ice cream bucket, but you can use multiple containers if you wish)
Small container with lid to keep your starter in (needs to hold 1 cup)
Spoon
Fork

IMPORTANT!
Pick a day when you can start this early in the morning. The process takes a few hours but most of that is just letting it sit so the live cultures can work. You can also start your yogurt in the evening and let it sit overnight.


 photo MayResize_208_zpsa3951012.jpg

Pour 1 gallon of milk into your crockpot, put on the lid and turn it on high. Set your timer or phone for 3 hours. If you go over 3 hours it will be fine, but you need at least that long to get it up to the right temperature to kill off any bad bacteria (180 degrees). You can use your candy thermometer to check the temperature if you want to, but I usually don't at this point. If I were using raw milk I definitely would though. 

By the way if you are short on time, this step can be done on the stove top. Use a heavy bottom pot and watch your milk carefully so it doesn't scorch. I have ruined a lot of yogurt this way because I'm so distractable, so using my crockpot saves me from myself!

 photo MayResize_341_zpse9ffca28.jpg


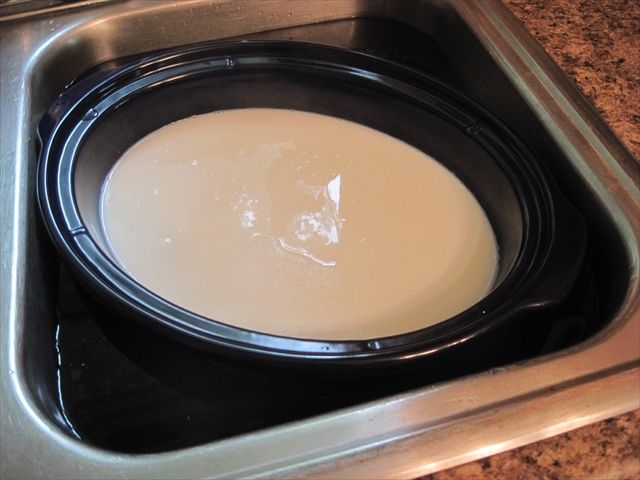
The next step is to let your milk cool off to 120 degrees. I do this by filling my sink halfway with cold water and setting my crock inside. You can also just let it sit and cool, but that takes longer. 


 photo MayResize_344_zpsa3b62cda.jpg

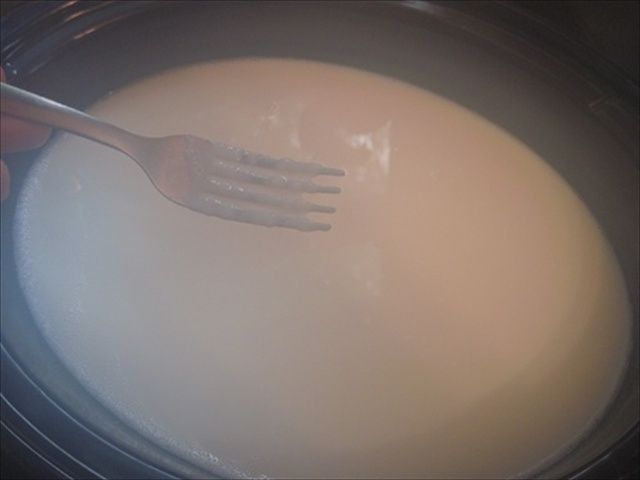
A "skin" will form on the top of your milk as it cools. Use a fork to remove it, and feed it to your cat if you have one. My cats wait with baited breath for this treat! Sorry the picture is blurry. Its actually steamy. Condensation formed on my camera lens from the warm milk.

When your milk gets to 120 degrees, take it out of the water and put the crock back in its case. Remove 2 cups of the milk and place in a bowl along with the cup of Dannon plain yogurt or your starter culture. Stir it till its blended well, then add it back into your crock.


 photo MayResize_210_zpsd795a714.jpg

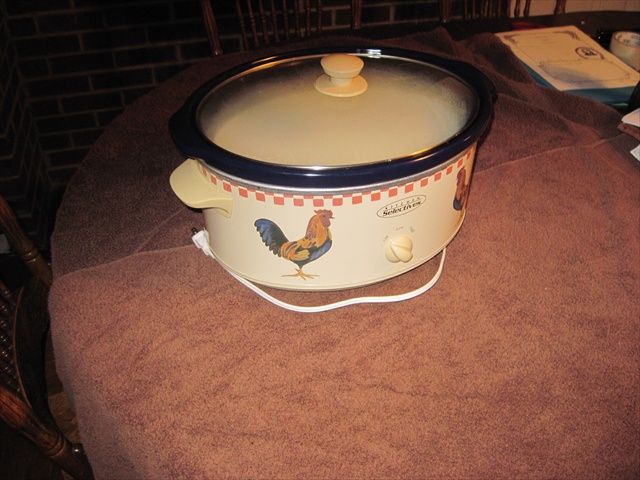
Now its time to incubate it and let those magical cultures do their work! Lay two large bath towels out on your table side by side and place the whole crockpot in the middle.


 photo MayResize_211_zps17731838.jpg

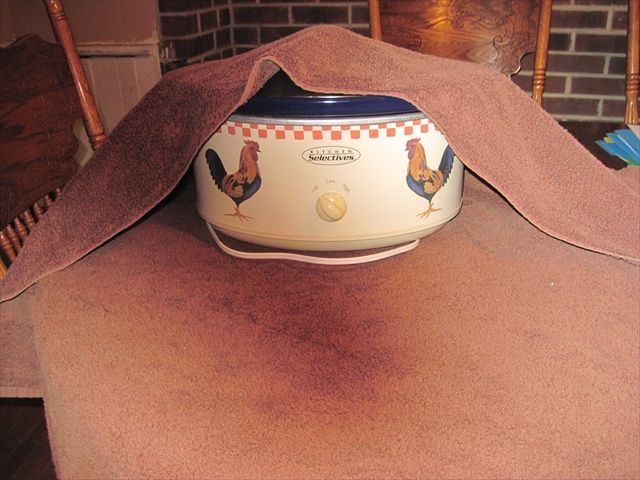
Wrap one edge of the towel over the long side. Then fold the other side over the top.


 photo MayResize_212_zpsf7ba8263.jpg

Fold up the ends and your crockpot now has a nice cozy cocoon around it to keep everything nice and warm. Now simply leave it alone for about 7 hours. I leave mine right on the dining room table, but if its in the way for you put it somewhere else. Just don't forget about it! (I would!) Better yet set an alarm on your phone or something to remind you to go get it later on this evening. 

 7 hours is just a suggested time, its what works for me. The longer it sits the tangier it gets because the lactose is eaten up by the bacteria. It would be of great benefit to a lactose sensitive person to let it sit longer. If your first batch is a little too tangy for your liking, next time try 6 hours instead.


 photo MayResize_214_zps54370475.jpg

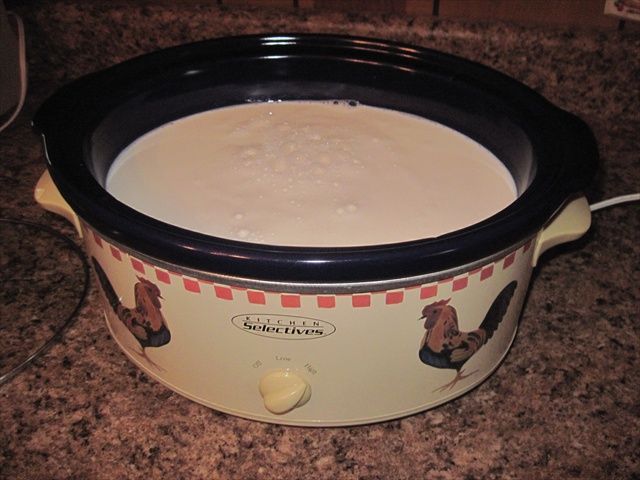
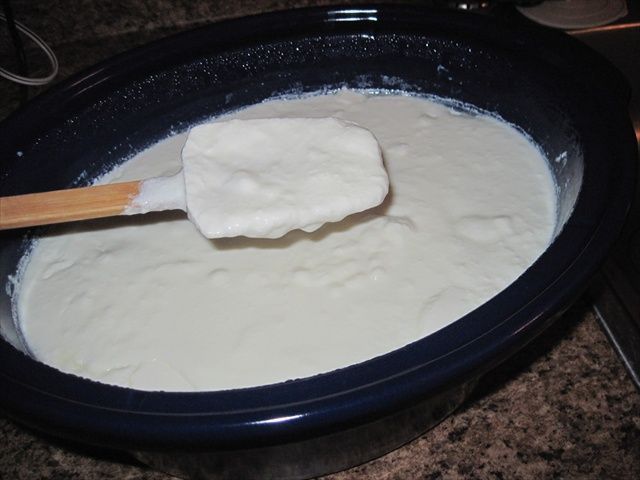
Here is my yogurt 7 hours later. It is kinda lumpy at first.


 photo MayResize_215_zps8a8ebd3d.jpg

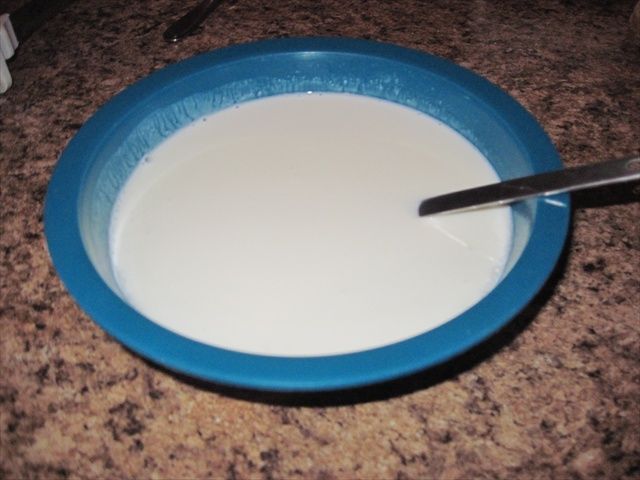
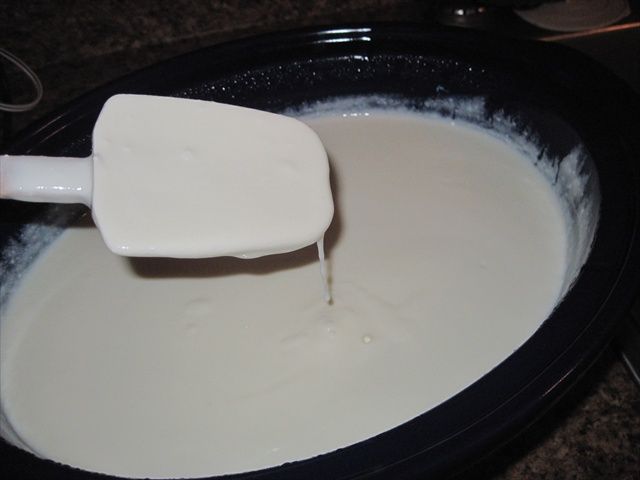
Stir it up well and it gets creamier and thicker.


 photo MayResize_216_zpsf9b40f7c.jpg

Take out a 1 cup portion and put it in a small container with a lid. This will be your starter for your next batch of yogurt. Pour the rest in another container or in serving size bowls if you wish. Scrape the edges with a rubber spatula to get it all out. Refrigerate overnight. In the morning it will be even thicker.

 photo MayResize_217_zpsedd7742c.jpg

And that's it! That wasn't too hard was it? Now I have a whole gallon of yogurt for less than $4.00!


You can also turn your yogurt into Greek yogurt, its easy too!


Friday, November 23, 2012

Black Bean, Tomato, and Avocado Wraps


Photobucket

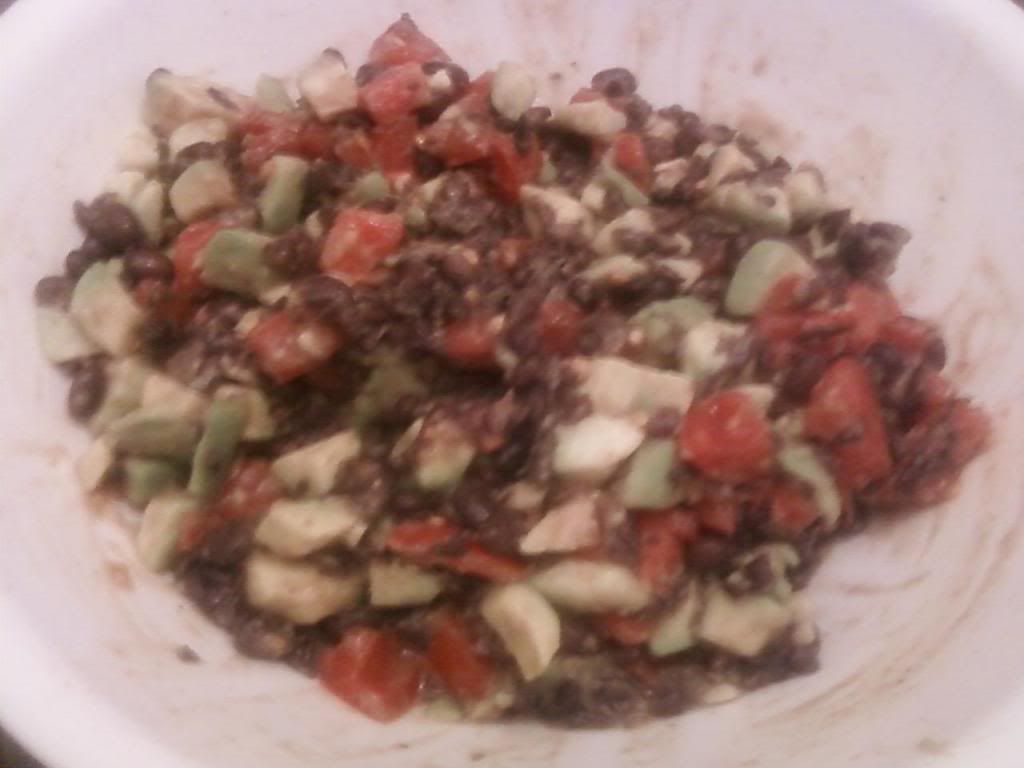
Black Bean, Tomato, and Avocado Wraps

2 cups cooked black beans
1 fresh tomato, chopped
1 ripe avocado, chopped
1 teaspoon ground cumin
1/2 to 1 teaspoon garlic powder, or use fresh
salt and pepper to taste
1 teaspoon onion powder, or use fresh
shredded cheese of your choice

Rinse the black beans thoroughly and let drain for a few minutes. Meanwhile chop up the tomato and avocado. Add seasonings and stir gently. Add the black beans. Let sit a few minutes so the flavors can blend. You can make this ahead and refrigerate if you prefer your wraps to be cold.

To make a wrap....

Heat an iron skillet on low for a few minutes. Warm a flour tortilla on both sides, then add a few spoonfuls of the bean mixture, sprinkle with cheese and then wrap like a burrito.

This makes a quick lunch or dinner, also great for meals on the go!

Makes 4 wraps, double or triple the recipe as needed.
We don't always have avocado on hand, they are just as yummy without them.
Once we didn't have tomatoes so we used sweet potatoes instead. I left out the seasonings, they were actually pretty great! The kids ate them up!

Tuesday, October 30, 2012

Make Ahead Cornbread Mix


Photobucket

Make Ahead Cornbread Mix

Ingredients for each bag...

2 cups corn meal
1 cup whole wheat flour
1 and 1/2 teaspoon salt
1 tablespoon aluminum free baking powder
1 tablespoon sucanat or sugar

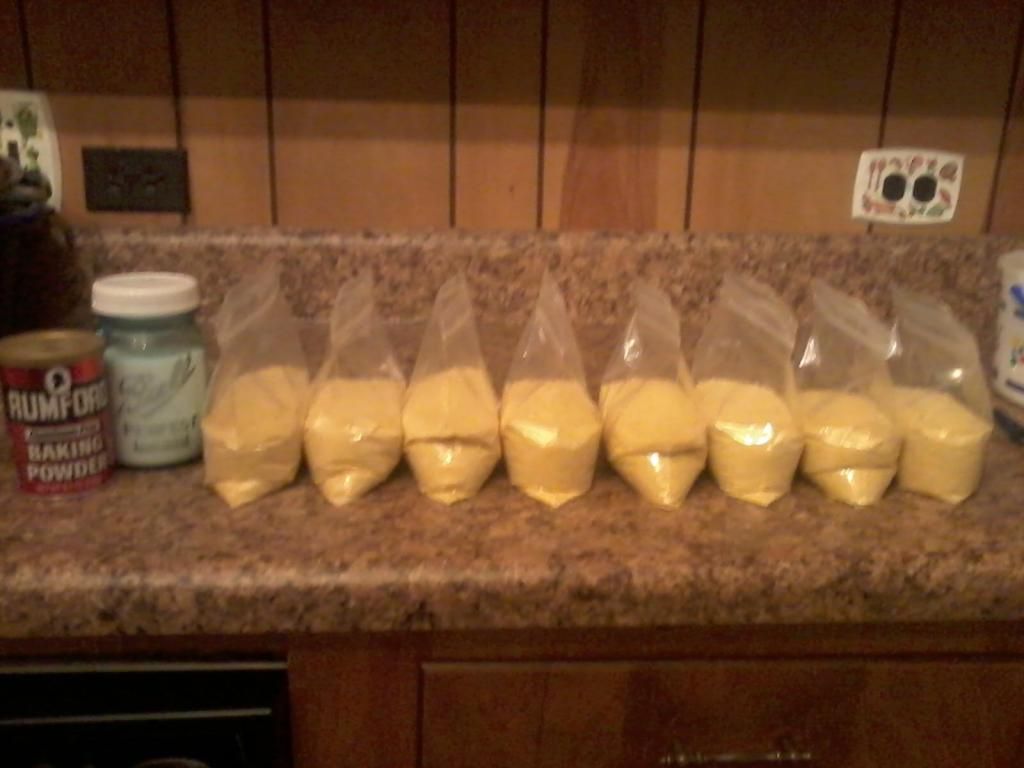
Layer these ingredients in a zip top baggie. You can use a regular or freezer bag. I like to make my mixes assembly line style.

Photobucket


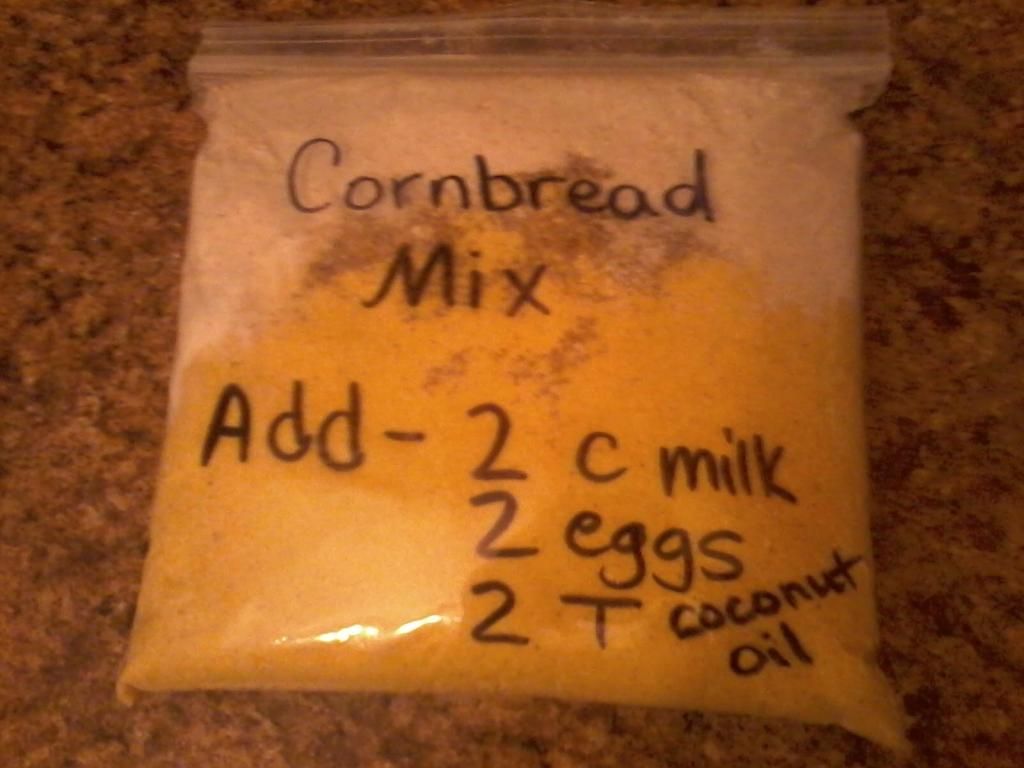
To use the mix add....
 2 cups milk
2 eggs (beaten)
2 tablespoons melted coconut oil or butter

Stir until moistened, do not over mix. 

Our family prefers the cornbread to made like pancakes. I make them on a hot griddle or iron skillet. Makes 15-20 corn cakes depending on how big you make them.

Photobucket

Photobucket

I store my mixes in the freezer because we grind our cornmeal and flour fresh, and don't want it to go rancid. If you use store bought  items you could also keep the mix in canning jars on the shelf. I dont recommend storing them in just a baggie on the shelf, bugs will invade!

Wednesday, October 24, 2012

Pumpkin Pie Oatmeal


Photobucket

Pumpkin Pie Oatmeal

7 cups water
5 cups old fashioned oatmeal
dash of salt if desired
1-1/2 cups pumpkin puree or 1 regular size can
3/4 cup sucanat or sugar
2 teaspoons pumpkin pie spice
extra cinnamon if you like it a lot
milk (optional)

Bring the water to a boil and add the oatmeal slowly, stirring as you add it. Reduce heat to a simmer and let the oatmeal cook for 3 minutes or until it is thick. Remove from heat and add the pumpkin puree. Stir until well blended. Add the sucanat and stir well. Add the pumpkin pie spice and extra cinnamon if desired. Taste it first. Add  milk if desired to make it creamier, or eat it as is. 

Makes 7 cereal bowl size servings.

Enjoy!

Wednesday, September 5, 2012

Everyday Homemaking ~ A Molly Crew Review

Photobucket
 
 Photobucket 
 
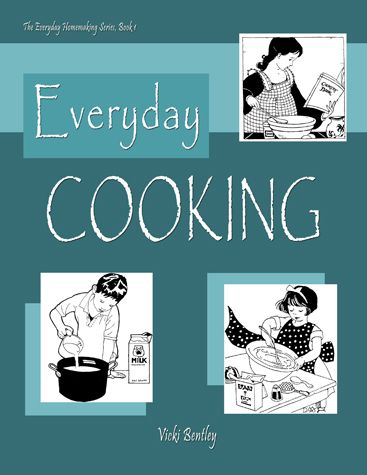
I enjoy cooking so I have many many cookbooks around here. It's a good thing I like it since my house is full of people who like to eat. When I had the chance to review Everyday Cooking ebook from Everyday Homemaking I was excited!
 
 Photobucket  
 
A few years ago I became very aware that we were not eating healthy in our home. A lot of prepackaged foods had made their way into the house and I used the excuse of "not having time to cook" to justify buying that stuff. Then came the financial struggles that forced me to do everything I could to save money.
I began to search out healthy "from scratch" recipes using real food ingredients. I sure wish I had found Vicki Bentley's website back then! It would have been a great place to start. Not every recipe in this book uses real food ingredients, but substitutions can be made and she gives suggestions for doing this.

Vicki is also a mother of 8, and has been a foster mother to many children over the years. She has had a lot of experience cooking for crowds and using frugal, real food ingredients and she shares generously from her knowledge in this book.
There are more than just recipes. Vicki gives tips on shopping smarter, and thinking ahead to future meals and preparing for them. Tips for saving time as well as money are sprinkled throughout. This book has encouraged me to get more organized with meals using the monthly meal planning charts, and with school starting back up it was perfect timing. Vicki includes lists of skills to learn if you want to use this book as a home economics course. When my girls are older I will certainly use it that way, for now they just help however they can.

  Although I have learned a lot myself through trial and error I still found plenty of new ideas to try in Everyday Cooking. My favorite new recipe was for refried beans using freshly milled bean flour and homemade taco seasoning. I usually make refried beans from home canned beans but this method is much quicker and easier if you have a mill in your home. The taco seasoning was delicious and SO much cheaper than buying those packets in the store, not to mention healthier.

  Another part I found very helpful was her recommendations for kitchen servants (cookware, grain mills, mixers) that will last for many years. I now have some stainless steel cookware on my wishlist!
 
Was there anything I didn't like? Well, I had to do a lot of recipe modification since I am a vegetarian, but most of you don't have that issue. I'm very good at modifying most recipes to use real ingredients and omit meat anyhow so that wasn't a problem for me. I have the eBook version, so I sent it to my kindle to make it easier to use in the kitchen. I wish wish wish there was an actual kindle version so I could skip to recipes using the index. The page numbers do not match up when you send it to kindle, so locating a particular recipe took some searching. You can print the eBook version for your own personal use. The best option in my opinion is to get the 100 page coil bound glossy cover version for $17.99. The eBook version is $14.99.
 
  See some sample recipes here, and let me encourage you to try the bread!
 
Read what other members of The Molly Crew thought about Everyday Cooking and The Everyday Family Chore System from Everyday Homemaking HERE.

Disclaimer~ I received this ebook at no cost in exchange for an honest review after using it in my home. No other compensation was given. All opinions expressed are my own.

Saturday, January 21, 2012

Week 3 ~ 8 Weeks to Real Foods Course

Photobucket

The challenge for week 3 is to eliminate unhealthy fats and instead use healthy fats.

If you haven't heard of this course yet and want to sign up, it is FREE! You can join at anytime and within a day or so you will start getting an email each week for 8 weeks to help you make the switch to real foods! Just click over to Vintage Remedies real quick and give them your email, that's it!


What was your first reaction to what you would be eliminating for the week?
This is another area where we have already eliminated all unhealthy fats from our home cooking, and we cook 90% of everything we eat at home from scratch. I know we still need to find a better alternative to that other 10% of things we buy that are not made with healthy fats. Its on my to-do list!

What was your first reaction to what you would be adding for the week?
There wasn't really anything to add for us, we have already added healthy fats to our diet.

What was your plan to make the change for the week?
I planned on trying some new recipes I have searched out for making a few more things at home so we don't have to buy them.


Were you successful in replacing your old items with Real Foods this week?
One of the items I need to make at home are tortillas. We use these a lot, and although we do buy whole wheat ones, they do have a small amount of unhealthy fat in them. It seems super easy to make them myself, but my week wasn't exactly full of free time, so I didn't get to this yet. But I will!


What were your thoughts at the end on the foods you eliminated and added for the week?
Since we made this change earlier, and we did it gradually, it wasn't too hard. It would be very hard to do this one in just one week in my opinion! But you can do it, just take baby steps. Start with foods you love the most and find a better alternative or a recipe to make it yourself.


Did the Change affect the way you felt physically or emotionally at the end of the week?
I can honestly say that this one change alone has made me feel so much better. I now have energy I didn't have before, I still get tired and run down sometimes, don't get me wrong. It isn't a miracle overnight thing though. I felt this gradually over a few months.  I crave a lot less junk now. I still crave chocolate, but there is healthy chocolate!

Saturday, January 14, 2012

Week 2 ~ 8 Weeks to Real Foods Course

Photobucket 

The challenge for week 2 is to eliminate refined sugars, and add natural sugars.

If you haven't heard of this course yet and want to sign up, it is FREE! You can join at anytime and within a day or so you will start getting an email each week for 8 weeks to help you make the switch to real foods! Just click over to Vintage Remedies real quick and give them your email, that's it!


What was your first reaction to what you would be eliminating for the week?

It is HARD to eliminate refined and processed sugars from your diet unless you make everything you eat from scratch. Everything. We have been on a mission to remove as much as possible the last few months however, and we have either found alternatives for a lot of foods we used to buy or we do make it ourselves. 

We have never used artificial sweeteners, BUT I love gum, and guess whats in it? Yep, artificial sweeteners. My main challenge this week was to not chew gum. My nails are chewed to bits now, LOL, but I went without it. Tomorrow is church so Im likely to have some then though. I know there are gums out there that have natural sweeteners in them, there has to be, and I will find them!


What was your first reaction to what you would be adding for the week?

I didnt have anything to add, we already use natural sweeteners here, but I had not heard of coconut sugar before. I am going to look for that to try now.


What was your plan to make the change for the week?

I planned to not eat the leftover Christmas candy lying around. But I have to admit I did eat some. Well, its been a I need chocolate kinda week! 


Were you successful in replacing your old items with Real Foods this week?

I still have not found a good alternative to my beloved gum. I did make some awesome brownies from scratch! I usually just avoid baking a lot of things because I know I will eat them. But when you NEED chocolate you just need it, I'm just sayin :0)


What were your thoughts at the end on the foods you eliminated and added for the week?

 I have to admit, the homemade chocolate brownies were much more satisfying than the leftover Christmas candies with unknown ingredients. I feel better in my own mind knowing what I have just eaten.

Did the Change affect the way you felt physically or emotionally at the end of the week?

Not really, I didn't change much.  We were already purposely avoiding the bad sugars here. I can say that back when we first began eliminating them I felt a pretty drastic change. I have not had any problems with low blood sugar now for a few months. Yes, that IS affected by eating too much sugar.

I can't wait to see what next week's challenge is!

Monday, January 9, 2012

Week 1 ~ 8 Weeks to Real Foods Course

Photobucket

Week 1 challenge was about eliminating non-hydrating or non-nourishing drinks, and adding hydrating and nourishing drinks.

If you haven't heard of this course yet and want to sign up, it is FREE! You can join at anytime and within a day or so you will start getting an email each week for 8 weeks to help you make the switch to real foods! Just click over to Vintage Remedies real quick and give them your email, that's it!
  1. What was your first reaction to what you would be eliminating for the week?
  2. This week wasnt really a challenge for me, I only drink water and herbal tea so I dont have anything to eliminate this week.OK I do occasionally have cocoa, but I do make it myself so I know what it in it.I could easily cut that out though, it isn't something I have to have.
  3. What was your first reaction to what you would be adding for the week? N/A
  4. What was your plan to make the change for the week? N/A
  5. Were you successful in replacing your old items with Real Foods this week? N/A
  6. What were your thoughts at the end on the foods you eliminated and added for the week?N/A
  7. Did the Change affect the way you felt physically or emotionally at the end of the week? N/A

I do feel like I need to drink more, so I made that my challenge this week. How did I do? OK I guess, I do feel like I was better hydrated this week since I made a conscious effort to drink more. I did not feel thirsty, except at night. I kept a glass of water by the bed and sipped on it when needed.

Sunday, January 8, 2012

Whole Wheat Bread

This recipe makes 2 loaves. You can double or triple this recipe. I make 6 at a time BUT I have a mixer that is strong enough to handle that much dough. I killed my kitchenaid professional 600 model very quickly when I first started making our own bread, and I was only making 2 loaves at a time then, so be careful! (Now I have a Bosch mixer.) You can also mix this recipe by hand if you are experienced in doing that.

Photobucket


Whole Wheat Bread

Recipe adapted from Lori Viets book  No More Bricks! Successful Whole Grain Bread Made Quick & Easy

2 cups warm water
1/4 cup melted coconut or olive oil, or real butter (we like coconut best)
1/4 cup honey (you can use less if you like)
1 and 1/2 teaspoon sea salt
6-7 cups freshly ground whole wheat flour (we like prairie gold white wheat the best for bread)
1 and 1/2 tablespoons yeast (SAF brand is the best)

2 teaspoons lemon juice (this makes the bread softer)
Pinch of ginger (doesn't affect taste, but it helps the yeast to rise)
2 tablespoons plain yogurt (this helps with softness too, I use it when I have it on hand)

Place all liquid ingredients in the mixer bowl, along with half the flour. Mix for a few seconds then add in the yeast. Let this mix a few more seconds then add the rest of the flour slowly, you may not need to use all of it. You may need a little more flour, each batch is different. When the ball of dough starts to clean the sides of the bowl stop adding flour. Let it knead for 5-10 minutes. Divide the dough into loaves, or rolls if you want to. Place in a greased pan to rise for about an hour. If your kitchen is warm it may rise faster, my kitchen is cold except in summer so sometimes it takes longer for mine to rise. The dough should be doubled in size. Bake at 350 degrees for about 30 minutes. If you have a meat thermometer you can check to see if it is done by poking the loaf in the center, if it reads 190 degrees inside it is done.

We like to roll out a couple of loaves before they rise and press raisins into the dough, then sprinkle on cinnamon and sucanat (a natural sugar) then roll it up jelly roll style. It makes a wonderful cinnamon raisin loaf with a pretty swirl in the middle. We gave these away at Christmas and it made a great homemade gift!

Photobucket

If you are new to breadmaking I HIGHLY recommend the book No More Bricks! Successful Whole Grain Bread Made Quick & Easy by Lori Viets. I tried for years a long time to make good soft whole wheat bread, and after reading this book and using her methods I have been making all of our family's bread ever since. She covers everything, it is very thorough and well worth the cost!

Tuesday, January 3, 2012

8 Weeks to Real Foods Course ~ FREE!

Photobucket

Our family has been making gradual changes towards a real food diet for many months now. I have had many people ask exactly what we changed and how it all works, and I have tried to give advice but I feel like I dont do a very good job of explaining it all. Id like to share with you a FREE 8 week real foods course being offered by Vintage Remedies.

I reviewed one of their books through the TOS Crew, Vintage Remedies 4 Girls, in December. I highly recommend this book for teaching your children, but if you would like to start some changes for yourself first this course is for you! And you cannot beat the price!

Every week you will receive a new email with changes you can make to gradually switch over to healthier eating in your home. Small steps are best! You can implement the changes in one week, two weeks, or longer if needed. If you have already mastered one of the challenges there are even advanced challenges you can work towards.

The first email has already been sent out, but this course is going to be offered year round, so you can join in at any time. What are you waiting for? Sign up now on the Vintage Remedies facebook page.

I am going to try and blog each week about the changes, or challenges we make here in our own home. A friend of mine at Homeschool Tweet is hosting a linky also if you would like to join in blogging with us.